Natural gas is a relatively safe, effective, and convenient source of energy. However, if the natural gas line in your property is not correctly installed or maintained, a natural gas leak can become a health risk and a source of danger in your home. Additionally, gas leaks also have explosive potential thanks to the extremely flammable nature of the gas vapors.

Signs You Might Have a Gas Leak
Natural gas is used in households for different heating needs. When properly installed and maintained, natural gas is a reliable and stable utility. However, regular wear and tear or improper use of gas appliances can lead to a gas leak.
Gas leakage can occur in several locations. Some leaks are easy to find, but not all of them are as immediately apparent. Whether at home or a place of business, it is necessary to know the signs, symptoms and procedures associated with gas leakage. Here are some of the most common warning signs of a gas leak.
Rotten Egg Smell
The most common sign of a natural gas leak is the scent of rotten eggs. For safety reasons, a substance called mercaptan is added to natural gas lines by utility companies. Mercaptan is harmless, but it has an odor that compares to that of rotten eggs. If you smell the scent of rotten eggs in your home, then you might have a natural gas leak.
Bubbling in Standing Water
One of the quickest ways to determine whether or not you have a gas leak is to conduct a bubble test. If you see bubbles formed in any wet areas around your home, you may have an underground gas leak.
Hissing Sound
A hissing sound that escapes from nearby gas lines is one of the first indications of a significant gas leak. If you hear the sound of air leaking out of a nearby pipe, you should call a gas company or another professional and leave the area immediately.
Dead Plants
If there is a leak in the gas line of your home, dead or dying plants can warn you of the problem. When a natural gas leak occurs, it displaces the oxygen required for the plants to survive. If you find dead plants in your home or yard, you might have a natural gas leak.
Why It’s Important to Fix a Gas Leak
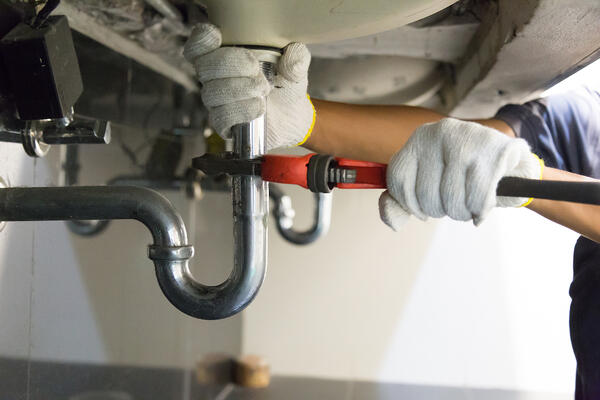
A skilled plumber can easily find the source of a natural gas leak and fix it safely. However, uncontrolled gas leaks can pose a risk to nearby individuals. In addition to physical conditions, natural gas is flammable, so it is advised that you stop using electrical appliances or lights immediately.
While natural gas is non-toxic, prolonged exposure to its products can cause a noticeable decline in health. As natural gas keeps leaking into your home, it can impair your sense of smell and cause breathing problems, headaches and nausea.
What to Do if You Find a Gas Leak
If you think you suspect a gas leak has occurred in your home, make sure to open all your windows, turn off the pilot light or water heater, and leave the house as quickly as possible. Next, once signs of a natural gas leak have been found and you are safely away from your home, you will want to call your local gas company or contact local emergency plumbing services.
Wait until you and your loved ones have completely evacuated your home before making any emergency calls. Electronic devices produce static electricity that can potentially ignite the extremely flammable natural gas that has leaked into the air.
Contact Althoff Industries to Fix Your Gas Leak!
If you smell gas or have another reason to suspect that you may have a gas leak in your home, make sure that you call Althoff Industries. Our team of highly-experienced professionals want to make sure that your home is a safe and comfortable place for you and your loved ones to live.
We offer expert, licensed plumbing services in the northwest Chicago area and can assist with any gas leak issues your home may have. In addition, we offer 24-hour emergency services and can be reached at our emergency hotline (815) 455-7000.