When it comes to any sort of problem in the home, you want to make sure that you pick up on it at the earliest opportunity. After all, the sooner you notice an issue, the quicker it can be fixed. This can make it a lot more convenient and cost-effective too.
However, the trouble is that we often do not realize that we have a big problem until it is too late. Because of this, we are going to take a look at some of the most common plumbing issues that may seem small but can cause a big headache.
Bubbling Wall Paint or Ceiling Paint
The first indicator that you have a plumbing issue is bubbling wall or ceiling paint. If this is an issue that you have noticed, it is an indicator that you have an excess amount of moisture. The most common cause of this plumbing problem is a leak in the plumbing system or the roof.
If you notice that you have any blistering or bubbling in your paint, or there are brown spots appearing on your wall or ceiling, it can be easy to simply ignore these. However, you should not do that. Now is the time for you to explore the problem further to make sure that you do not end up with a plumbing nightmare on your hands. A reputable plumber like Althoff Industries will be able to investigate the issue for you to ensure it is rectified quickly.
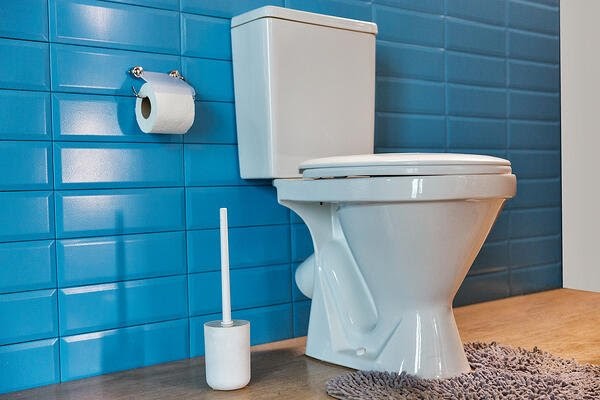
Spiking Water Bills
Have you noticed that your water bills are a lot higher than usual? If this is the case, it could be that there is some sort of problem. After all, if your water use has not increased significantly, then there must be another issue. High water bills indicate that something has changed within your plumbing system.
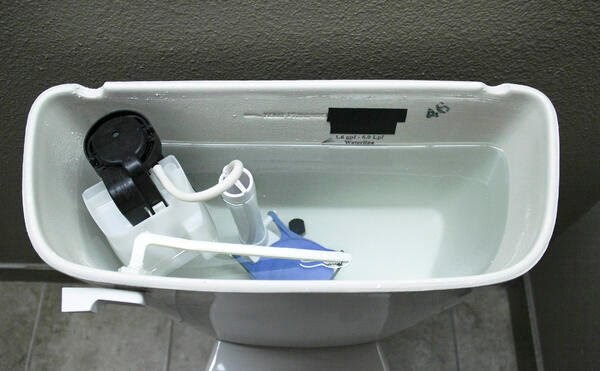
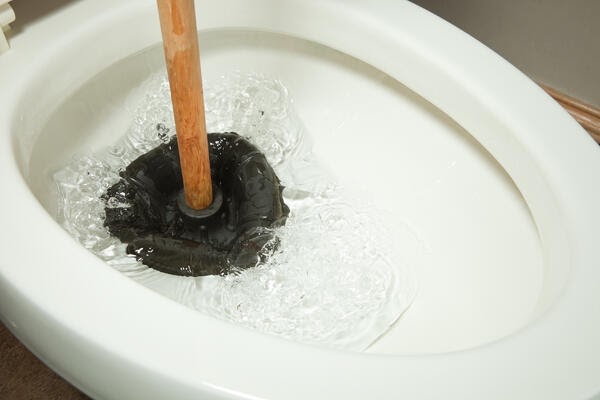
A running toilet is one of the most common reasons why people have spikes in their water system. A lot of homeowners do not appreciate the quantity of water used by their toilets. A toilet valve is pretty much a garden hose going at full blast. Therefore, it is not unusual for hundreds of dollars to be wasted as a consequence of a single running toilet.
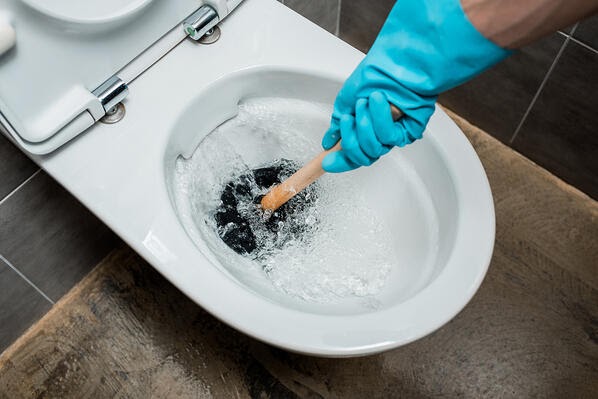
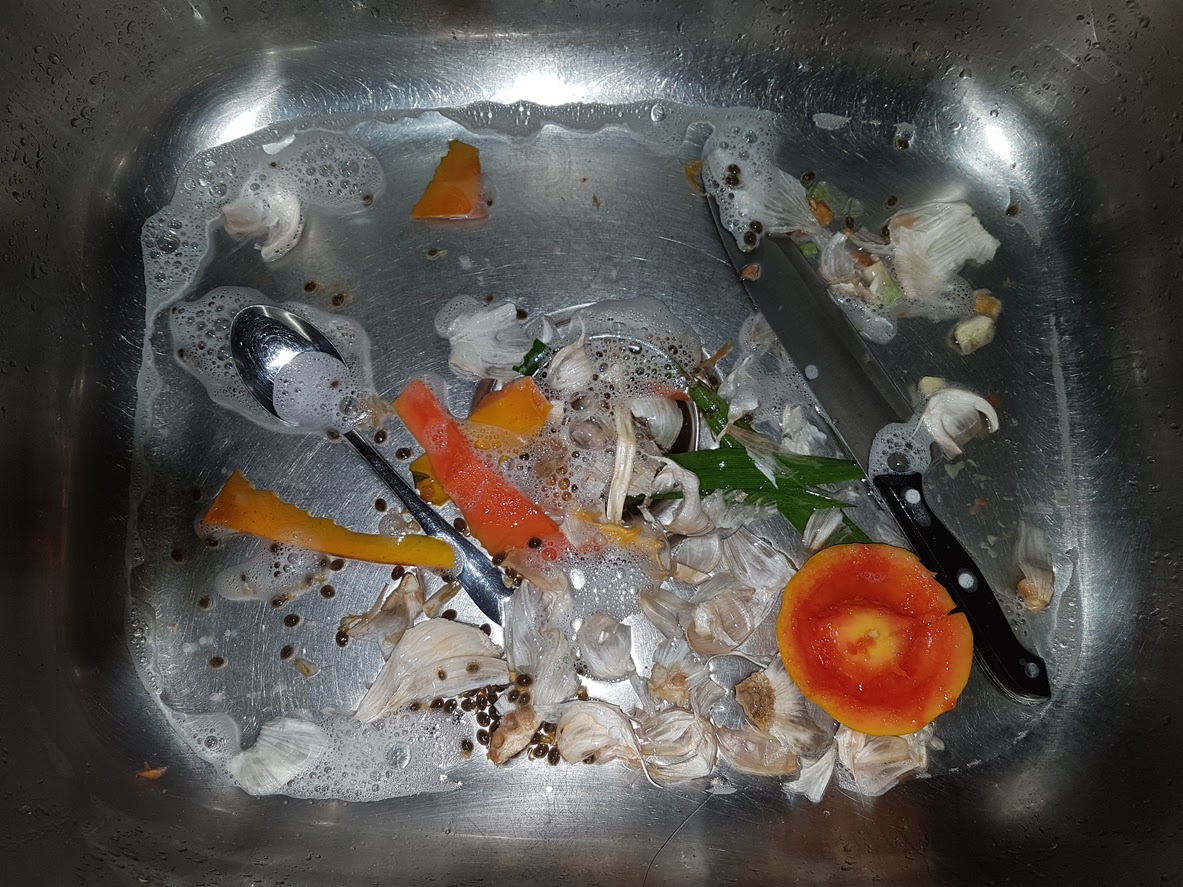
Other common issues that could cause a spike in your water bill include clogged drains, dripping faucets, or a problem with your water supply. If you notice any of these issues, then make sure to call a plumber straight away.
Weak Water Flow In a Number of Locations
Low water pressure or a slow stream of water indicates that there is a problem with your water supply. If this is something that is only happening in one place in your home, the problem will typically be in the faucet aerator. Luckily, this is a pretty easy fix. However, if you have low water pressure in numerous spots around your property, this is an indication of a bigger issue.
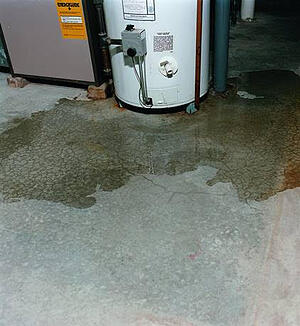
If this is the case, the issue is probably going to be at the water main. It could also be an active leak in the supply line, which is the worst-case scenario, or a problem with the hot water heater. If you see that you have low water pressure and a number of other symptoms have presented themselves too, you really do need to call a professional plumber at the earliest opportunity.
Sewer Odor
A general rule in the world of plumbing is that all drains require a trap and all traps need to have a vent. All of these drains and traps have been designed so that sewer gas does not get inside of your home. The vents within your property should ensure that sewer odor is channeled up to the roof, while a ‘water plug’ is created by the drain traps and this acts as a barrier, preventing sewer odors from coming through your sink drain.
So, if you can smell sewer gas in your property, this means that either the vent line has cracked or the trap has run dry. You can fix a dry trap very easily. All you need to do is refill it with water. It is worth doing a quick assessment to make sure that there are not any signs of a leak. It can be much more difficult to track down a cracked sewer vent, though.
This is because they are enclosed into the wall, which demands a bit of drywall surgery. Your plumber will be able to provide you with more information on this if required.
Discolored Pipes
On a final note, discolored pipes can be an indicator of a bigger problem. Yes, they are unsightly, but a lot of people simply put up with this, especially as most pipes are located out of eyesight. So, if there are any signs of discoloration on your pipes, whether under your kitchen sink or in your basement, it is worth exploring this further because it indicates that moisture is present.
This may have happened as a consequence of dripping from a drain line or sink. In some cases, it can be a more severe incident, for example, a slow leak within the supply line. If it turns out that it is the latter, this is something that needs to be dealt with sooner rather than later.
To conclude, there are a lot of different plumbing issues that can seem small on the surface but can result in big problems if you are not careful. If you notice any of the signs that have been discussed above, the best thing to do is get in touch with a professional plumber like Althoff Industries as soon as you can.
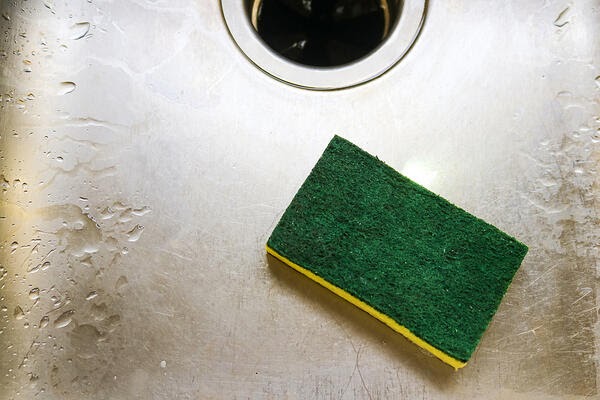
Whether it is a small issue like a malfunctioning garbage disposal or a slow drain, or a larger problem with your water supply, we will be able to assess the issue for you and ensure that it is rectified quickly and effectively so that you can have complete peace of mind.